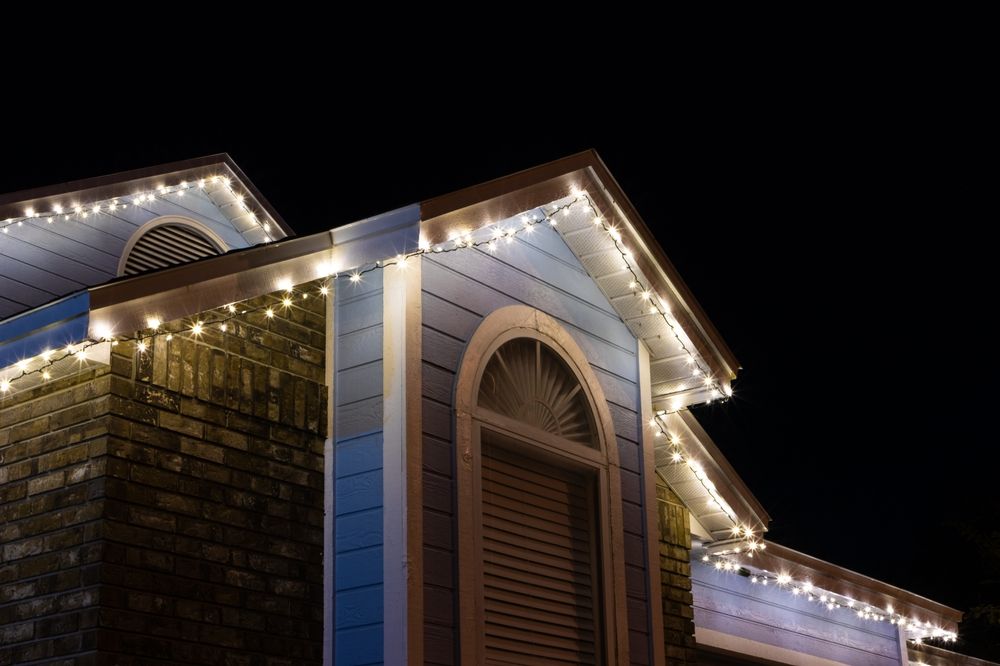
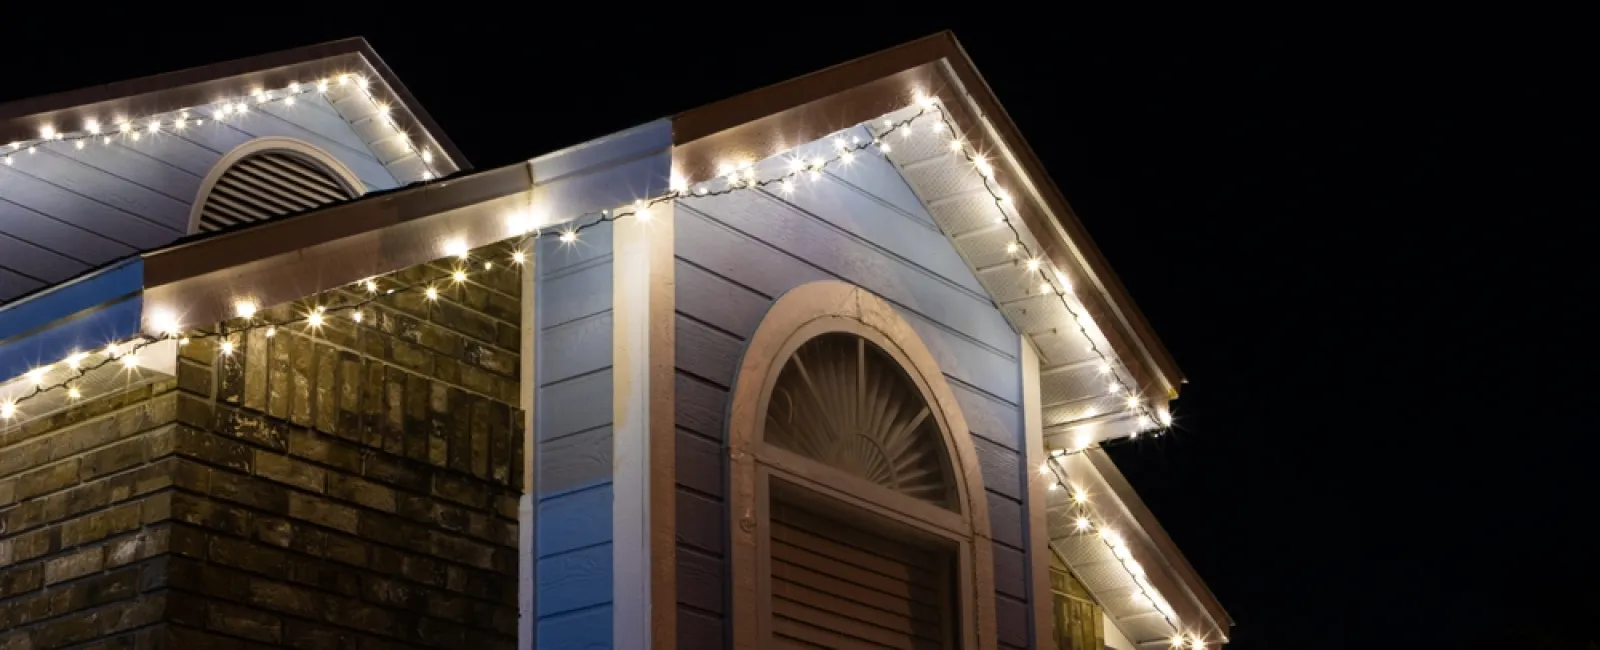
December has started and that means festivities are in full swing. From holiday shopping to baking and putting up the tree, this time of year brings everyone together. One way you might spread joy this holiday season is by hanging Christmas lights on your roof.
Whether you're a first-time participant or you make it an annual tradition, Rising Star Roofing in Florida has a helpful set of tips everyone should follow to spread holiday cheer.
Top 5 Tips for Installation of Christmas Lights
From safety to protecting your roof, here are some tips for installing Christmas lights on your roof this holiday season.
1. Prioritize Safety
Above all, safety is of the utmost importance. Hanging Christmas lights is a source of joy for those to witness them. Don't rob yourself or your family of that same joy by injuring yourself. The chances of slipping and falling are a real concern when it comes to hanging Christmas lights from your roof. For one, never get on your roof when it is icy, windy, or wet—these conditions are especially dangerous. Start by making sure you have a partner with you during these tasks to make things easier and safer.
Another safety measure to take before getting on the roof is to test your lights beforehand. Going through the motions of hanging your lights only to realize they don't work is frustrating and can lead to an accident.

2. Utilize Christmas Light Clips for the Edge of the Roof and Gutters
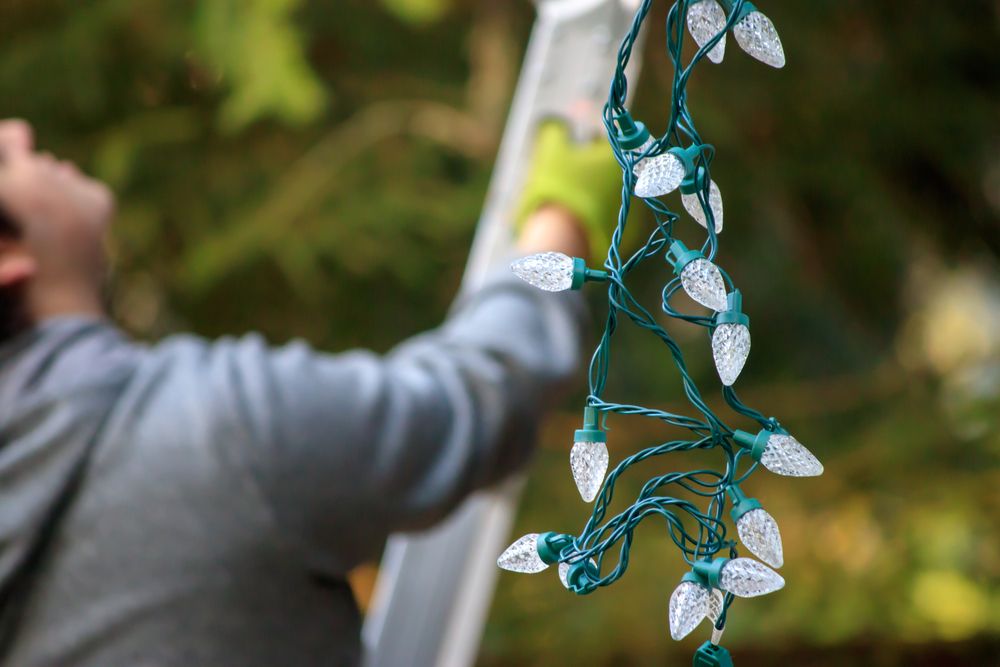
Looking to make Christmas light installation convenient? Start using Christmas light clips. Christmas light clips can be attached directly to the edge of your roof or gutters. All you have to do is place the lightbulb in the clip and attach it either to the roof or the gutters. And for next year, you can leave the clips attached, just remove the bulbs once Christmas is over.
Christmas light clips come in two sizes, C7 for small lights and C9 for larger bulbs. Even icicle lights can work with these clips.
In need of gutter services? Turn to Rising Star Roofing in Florida for all of your gutter needs.
3. Avoid Roof Vents With Christmas Decorations
When you're decorating your roof, make sure to note where roof vents are located. When your roof vents are covered by Christmas lights and other decorations, ventilation systems, filters, and utility costs take a noticeable hit. Furthermore, make sure all Christmas lights and decorations are secure so they don't become loose and eventually cover the roof vents.
4. Avoid Making Alterations (Damages) To Your Roof
While it may seem tempting to drill holes, hammer nails, or lift and use shingles as a means to secure your Christmas lights, don't do it. Using any of these makeshift methods is a surefire way to cause damage to your roof.
In addition to the Christmas light clips previously mentioned, use tile grips, plastic hooks, adhesive strips, or clamps to secure your decorations. These are the preferred methods that won't cause damage to your roof and make for easy removal once Christmas is over.
Roof damaged? Reach out to our team today for roofing repairs and maintenance even in the event of storm-related damages.
5. Hire a Professional
To avoid roof damage and stay safe while doing so this holiday season, hire a professional to hang your Christmas lights. A professional has the proper tools and knowledge to hang your Christmas lights and decorations safely. Additionally, a professional could take the Christmas lights on your roof to the next level—making your home an immediate standout.
Different Types of Roofs and How to Install Lights on Each

Installing Christmas lights on your roof also depends on the type of roof you have. Different roofing types require different methods to effectively hang Christmas lights.
Here is how to install Christmas lights on the roof that match your home.
1. Flat Roofs
Flat roofs are among the easiest to decorate because of their accessibility. Make sure you walk on the roof carefully and if needed, you can use weighted objects like sandbags to hold down the strings of the lights. Keep weighted objects relatively light to prevent damage to the roof.
2. A-Frame Roofs
A-frame roofs are challenging to hang Christmas lights on due to their steep design. A light-hanging pole would be the best option, but it's smart to hire a professional if you have this type of roof.
3. Hip Roofs
While a hip roof's design of four sloped sides and a ridge at the top make for an exciting display for Christmas lights, take extra caution. Hip roofs are known to be exceptionally slippery compared to other roofing types. If you aren't experienced or confident in hanging your Christmas lights, turn to a professional.
4. Mansard Roofs
When it comes to the difficulty of installing Christmas lights on a mansard roof, it's somewhere in the middle. A mansard roof has a flat portion at the top, two slopes on each side, and a steeper lower slope. Portions other than the flat area will require a ladder or bucket lift for safety.
5. Gabled Roofs
Gabled roofs require a sturdy ladder or bucket lift for Christmas light installation due to their triangular shape and steep slopes. The best way to attach lights to this style of roofing is by using light clips on the edges of your roof or gutters.
Wrapping it Up
Embrace the whimsiness of the holiday season by finding the right roof for your home. Our residential roofing and shingle services can help you get the roof you're looking for to spread joy this holiday season.
Contact us to schedule an appointment and explore our roofing options perfect for installing Christmas lights on your roof.

